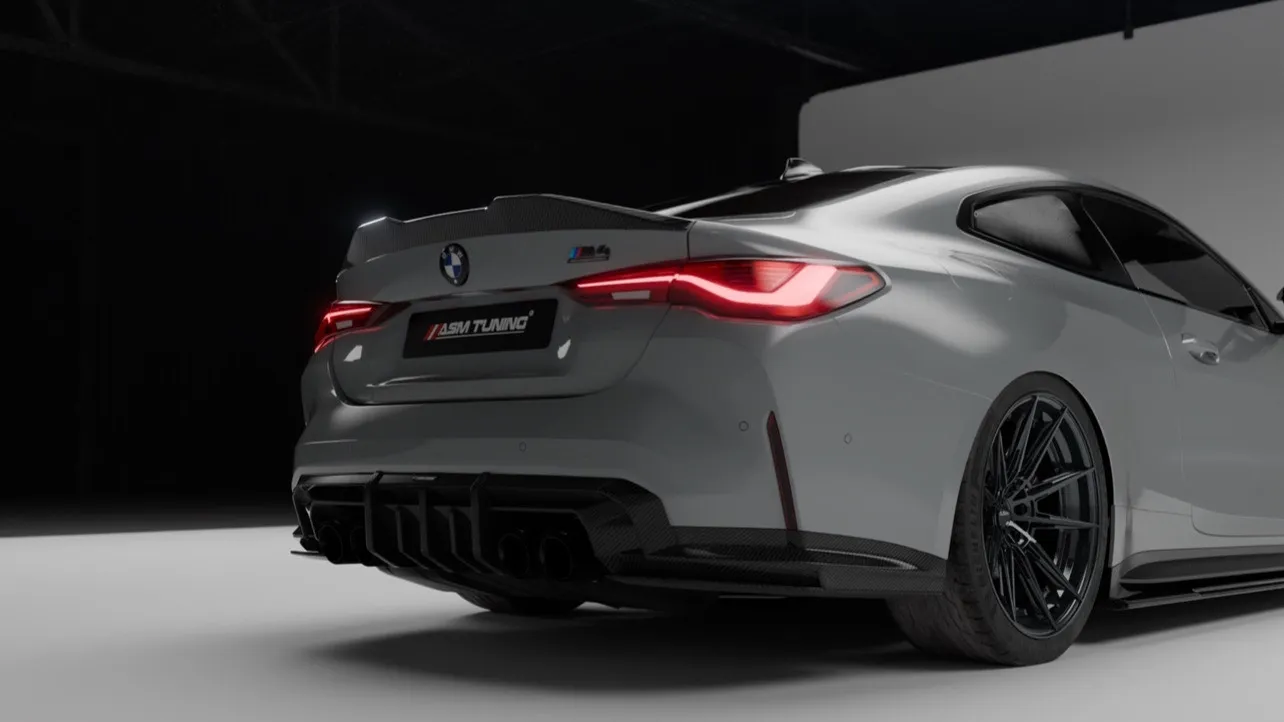
How to Install a Rear Diffuser
Installing a rear diffuser will help you upgrade both your car’s aerodynamic capabilities and its aesthetic appearance.
Our comprehensive guide will take you through the full installation process while guaranteeing a perfect fit
Why Install a Rear Diffuser?
A rear diffuser improves:
- Aerodynamics – Reduces drag and increases downforce.
- Installing a rear diffuser provides your vehicle with a stronger sporty appearance.
- Performance – Helps with high-speed stability.
Tools & Materials Needed
Before starting, gather these essentials:
- Socket wrench & screwdriver (for bolt removal)
- Trim removal tool (optional, to avoid scratches)
- New rear diffuser (ASM, OEM, or aftermarket)
- Gloves (to protect your hands)
Step-by-Step Guide to Fitting a Rear Diffuser
STEP 1: Remove the Side Bolts
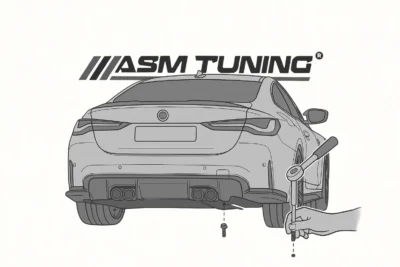
- Find the bolts that hold the original diffuser in place, one bolt on each side.
- Remove them with a socket wrench handling.
- Keep the bolts safe for reinstallation.
STEP 2: Unclip the Original Diffuser
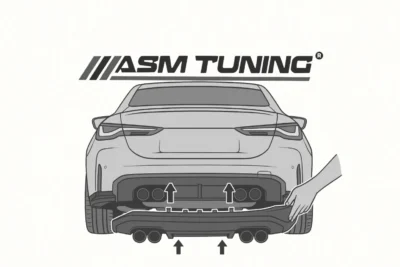
- After removing the bolts the diffuser stays attached through plastic clips.
- Start by gently pulling the diffuser from the bottom to release its lower clips first.
- Carefully remove the top section of clips to prevent breaking any tabs during detachment.
Warning: Use minimal force to avoid causing damage to the bumper.
STEP 3: Align & Install the New ASM Diffuser
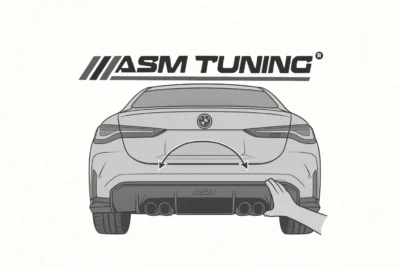
- Position the new diffuser against the bumper.
- Align the diffuser correctly before pressing it into position.
- Apply firm pressure to secure all clips.
Check: Verify that each edge is perfectly aligned with the bumper surface.
STEP 4: Reinstall the OEM Bolts
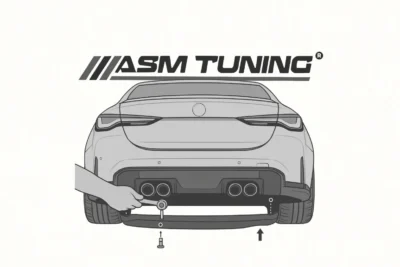
- Place the original bolts into the corresponding side holes once again.
- Tighten the bolts firmly but avoid excessive force to prevent stripping the threads.
- Pull the diffuser gently to make sure it is properly anchored.
Done! Your new rear diffuser is installed.
FAQs About Rear Diffuser Installation
Will a rear diffuser fit any car?
- No, diffusers are model-specific. Always check compatibility before purchasing.
It is possible to install a diffuser without taking off the bumper?
- Yes! The majority of diffusers can be mounted underneath the vehicle without full removal of the bumper.
Should I seek mechanic assistance to fit a diffuser on my vehicle?
- DIY installation of a rear diffuser is achievable if you know how to use basic tools. Otherwise, a mechanic can help.
How do I maintain my rear diffuser?
- Use mild soap and water for regular cleaning while also making regular checks for any loose clips or bolts.
Final Tips for a Perfect Diffuser Fit
Performing a test-fit before final installation will help confirm perfect alignment.
Using plastic trim tools protects your bumper from getting scratched.
Please adhere to the manufacturer instructions because certain diffusers require special procedures.
Conclusion
Installing a rear diffuser is a simple yet impactful mod that enhances aerodynamics and style.
By following this guide, you’ll achieve a secure, professional fit while boosting your car’s performance and aggressive look.
Looking for a High-Quality Diffuser?
If you want a perfectly designed diffuser that fits flawlessly and enhances your car’s aesthetics, explore our ASM Diffusers.
Made from finest materials and engineered for easy installation, they’re the ideal upgrade for any enthusiasts.
Browse Our Diffusers Here
Thank your for choosing ASM TUNING
We sincerely trust that our product will align with your expectations.
Let us know if you have any questions.
+44 (0) 121 798 0689
team@asmtuning.co.uk
team@asmtuning.co
Learn More: HOW TO FIT A SPLITTER
DISCLAIMER
These guidelines provided by ASM TUNING are only recommendations, and we highly advise that professional installers handle the installation process. ASM TUNING cannot be held responsible for any damages or liabilities that may occur from following the Company’s guidelines.
It is important to note that the misuse, abuse, or incorrect installation of ASM products may lead to significant vehicle malfunctions. There are potential dangers such as vehicle damage, serious bodily injury, disability, and even death. Any modifications made to your vehicle or someone else’s using ASM products are solely your responsibility.
ASM TUNING will not be accountable for any changes made to vehicles as a result of the misuse or abuse of its products. It is strongly recommended to seek professional installation for the products sold on the asmtuning.co website if you have little to no experience in installing them.
The products are sold as-is, and any damages or injuries sustained during installation or subsequent use of the vehicle are not our responsibility. As proper installation is crucial for the performance and longevity of our products, please carefully review the documentation and test your installation before resuming driving.

